Summary摘要
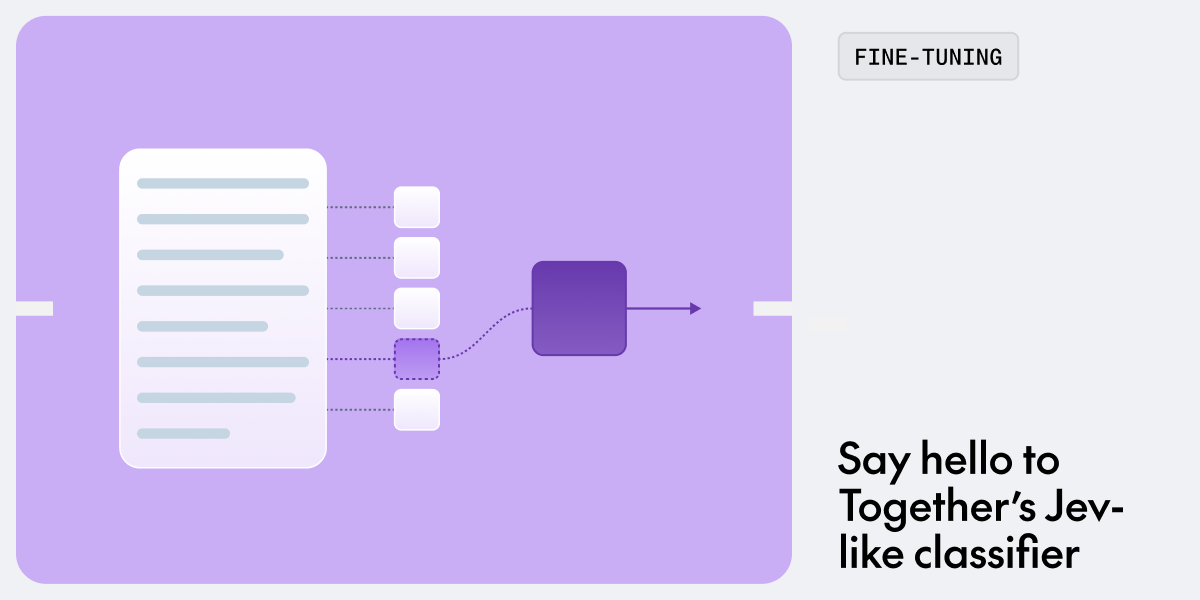
We just launched our own Jev-like classifier, together/Tev1-4B-experimental, on top of Qwen3.5 4B on Together’s serverless platform. In this blog post we’ll show you how to fine-tune your own version!我们刚刚在 Together 的无服务器平台上,基于 Qwen3.5 4B 模型推出了我们自己的类 Jev 分类器:together/Tev1-4B-experimental。在这篇博客中,我们将向你展示如何微调属于你自己的版本!
Jev has quickly become one of the most talked about model releases in the AI space. It’s a powerful classification model that’s both fast and incredibly cheap to run.Jev 已迅速成为 AI 领域讨论度最高的模型发布之一。它是一个功能强大的分类模型,既快速又极其经济实惠。
Give Jev a piece of state plus predefined questions and it will quickly give back a result in the form of a score, boolean value, or multiple choice answer.只需给 Jev 提供一段状态和预定义的问题,它就能迅速以分数、布尔值或多项选择的形式给出结果。
This sort of classification model has many real-world applications, such as an e-commerce site evaluating automated customer returns, categorizing ML papers, or even providing a sentiment rating for a piece of text.这种分类模型在现实中有着广泛的应用,例如电子商务网站评估自动退货请求、对机器学习论文进行分类,甚至是为文本提供情感评分。
Today we’re going to fine-tune our own Jev-like classification model that takes state and returns an answer. Our goal is to create a model that can quickly and efficiently answer questions like:今天,我们将微调一个属于我们自己的类 Jev 分类模型,使其能够接收状态并返回答案。我们的目标是创建一个能够快速高效地回答以下问题的模型:
In this blog post we’ll cover how to fine-tune and deploy a classification model that can answer these types of questions. By the time we’re done, you’ll have your own model deployed with an API endpoint that’s easy to integrate into any piece of software.在本篇博客中,我们将涵盖如何微调和部署一个能够回答此类问题的分类模型。完成之后,你将拥有一个已部署的模型,并配有一个易于集成到任何软件中的 API 端点。
Let’s get started by setting up your computer with everything needed to train the model.让我们从配置计算机环境开始,准备好训练模型所需的一切。
If you would rather jump straight into using the classifier, and not bother with training your own model, check out together/Tev1-4B-experimental on Together’s serverless platform.如果你不想费心训练自己的模型,而想直接使用分类器,可以查看 Together 无服务器平台上的 together/Tev1-4B-experimental。
Getting started入门指南
The first thing we need to do is clone the tev1 GitHub repository.我们需要做的第一件事是克隆 tev1 GitHub 存储库。
Once the repository is cloned, we’ll need to install the necessary dependencies using:克隆存储库后,我们需要使用以下命令安装必要的依赖项:
The final setup step is to create an .env file that will hold the necessary environment variables.最后的配置步骤是创建一个 .env 文件,用于存放必要的环境变量。
Copy .env.example:复制 .env.example:
Edit the new .env file and add your TOGETHER_API_KEY. You do not need to add a JEV_MODEL just yet. Leave it blank for now.编辑新的 .env 文件并添加你的 TOGETHER_API_KEY。你暂时不需要添加 JEV_MODEL,先留空即可。
And that’s it. We’re now ready to fine-tune our model.这样就可以了。我们现在准备好微调我们的模型了。
Fine-tuning a classification model微调分类模型
The next step is to take an existing language model and turn it into a model that specializes in classification. In order to do that we’ll need to create a fine-tune using a base model and a number of existing datasets.下一步是将现有的语言模型转变为专门从事分类的模型。为此,我们需要使用基础模型和若干现有数据集来创建一个微调任务。
For the base model we’ll use Qwen3.5 4B and for the datasets we’ll use a handful that are hosted on Hugging Face.我们将使用 Qwen3.5 4B 作为基础模型,并使用托管在 Hugging Face 上的少量数据集。
Picking datasets选择数据集
We’ll sample 38,000 questions from various datasets, each one specializing in a different type of classification.我们将从各种数据集中抽取 38,000 个问题,每个数据集都专注于不同类型的分类。
Here are the datasets and the number of examples we’ll use:以下是我们使用的数据集及其示例数量:
We only use 38,340 examples to keep our fine-tuning costs low. Training against a dataset of this size will only cost about $17.0, while larger datasets are more expensive and time-consuming to train against.我们仅使用 38,340 个示例来保持较低的微调成本。针对这种规模的数据集进行训练仅需约 17 美元,而使用更大的数据集则会更昂贵且耗时。
Normalizing the data归一化数据
Now that we have picked our six data sources, we need to sample a limited number of questions from them as well as normalize these questions so they are all in the same format.现在我们已经选好了六个数据源,需要从中抽取有限数量的问题,并将这些问题归一化,使它们全部采用相同的格式。
The repository contains a number of Python scripts that automate this process.该存储库包含若干用于自动化此过程的 Python 脚本。
First, download the datasets:首先,下载数据集:
Next, sample and normalize the questions that we will use for training:接下来,抽取并归一化我们将用于训练的问题:
For these commands you should see some output and no errors.执行这些命令时,你应该能看到输出且没有错误。
Now that we have our training datasets, we’re ready to move on to the next step and fine-tune the classification model.现在我们有了训练数据集,准备进入下一步:微调分类模型。
Training the model训练模型
We can launch a fine-tuning job using Together AI’s Fine-tuning service.我们可以使用 Together AI 的微调服务启动微调任务。
There is a Python script that will help automate this process. Run it using:有一个 Python 脚本可以帮助自动化此过程。使用以下命令运行它:
This script takes care of a number of steps needed to train a model. First, it uploads the training data to Together and then it launches a fine-tuning job using the dataset and appropriate parameters.该脚本负责处理训练模型所需的多个步骤。首先,它将训练数据上传到 Together,然后使用该数据集和适当的参数启动微调任务。
Once the fine-tuning job launches, the training script will output a training job ID.微调任务启动后,训练脚本将输出一个训练任务 ID。
You can check on the status of the training using the Together CLI:你可以使用 Together CLI 查看训练进度:
You can also check on the status of the training job using the Fine-tuning dashboard over on Together AI.你也可以在 Together AI 的微调仪表板上查看训练任务的状态。
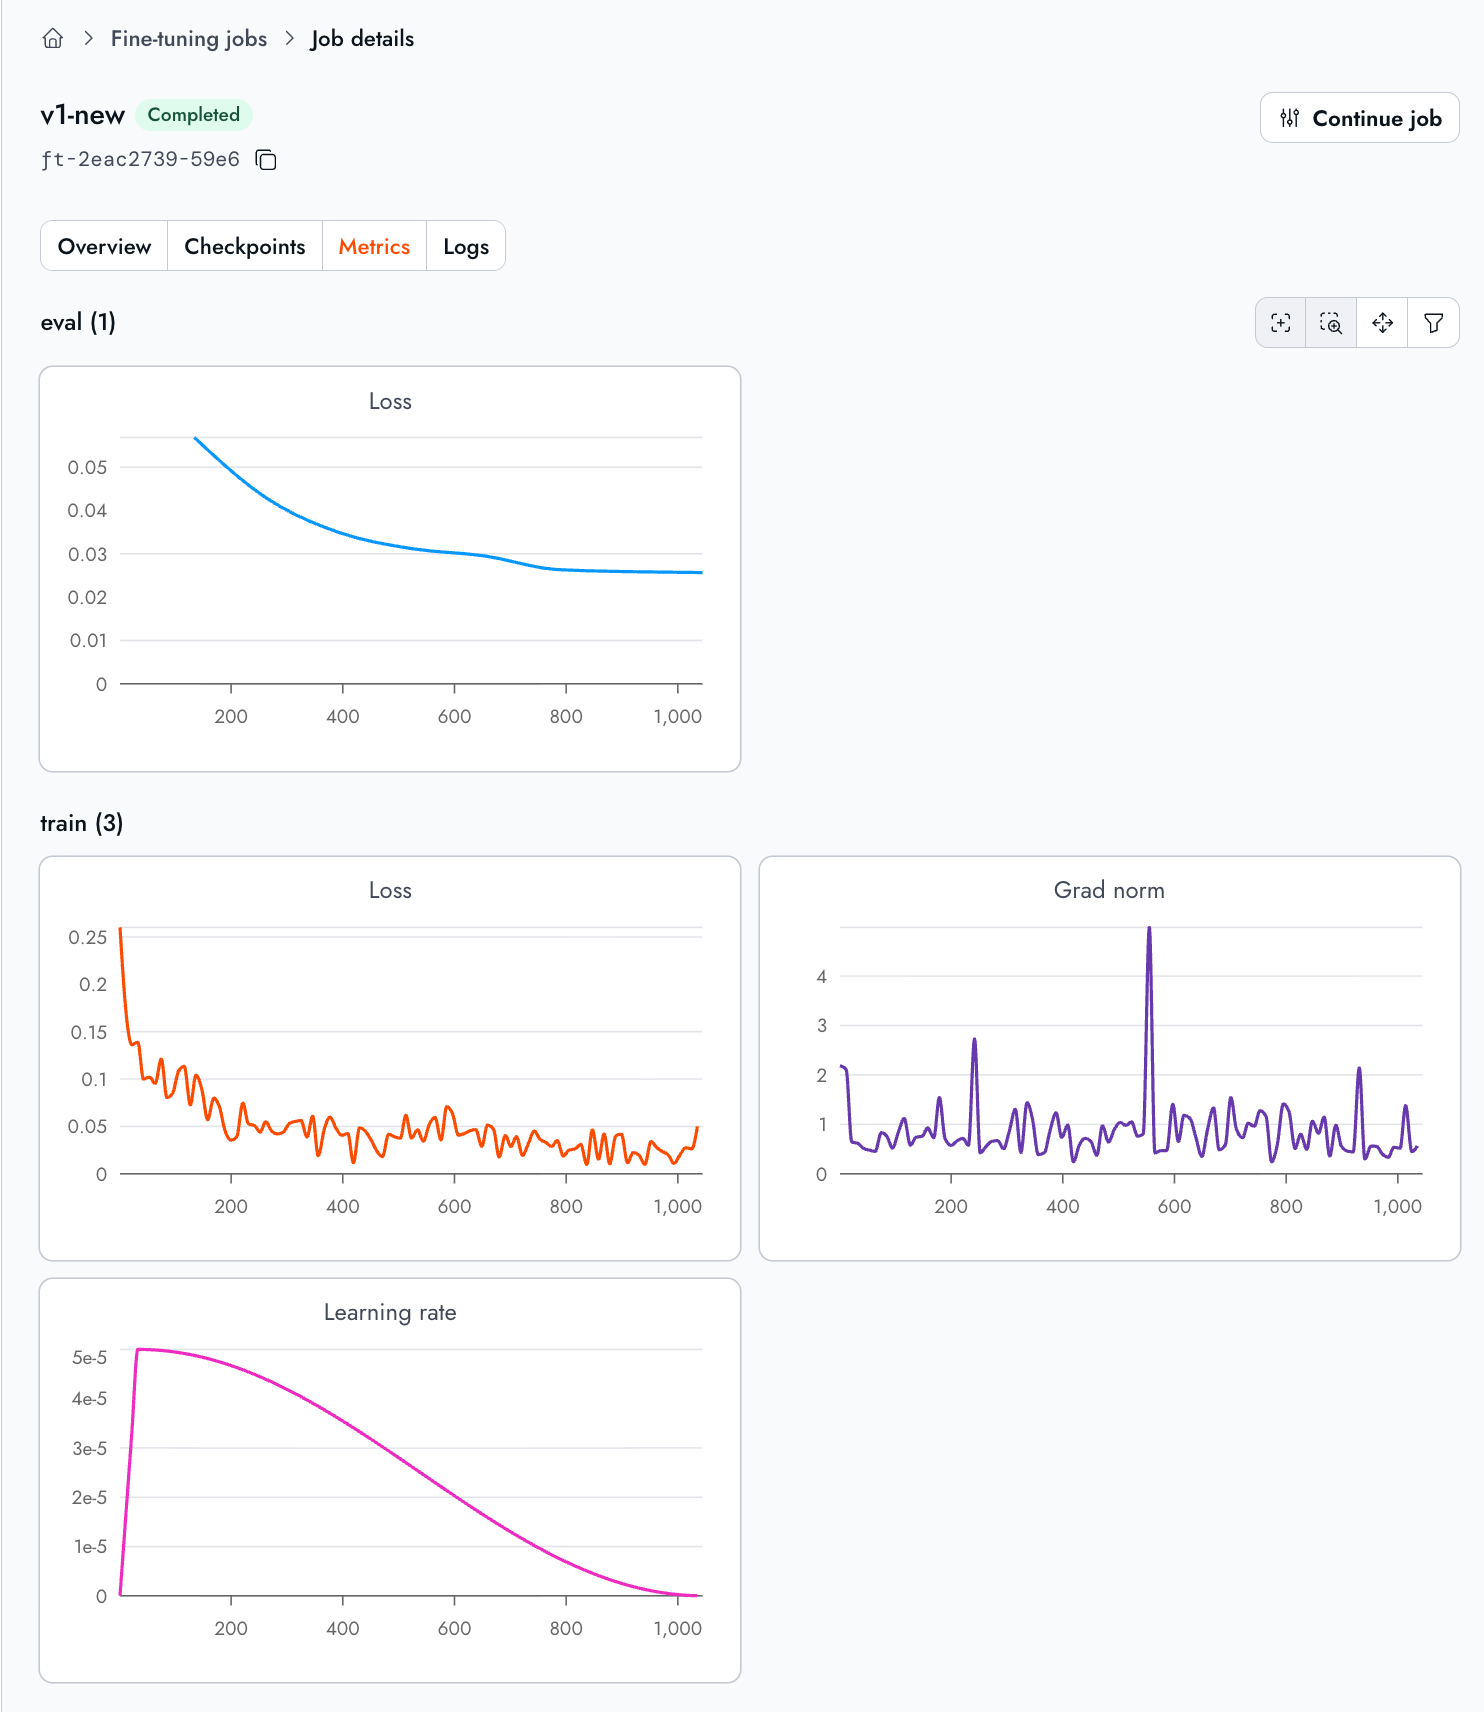
The training job will take roughly 25 minutes to complete, and once it does we’ll have a model that is ready to do classification.训练任务大约需要 25 分钟完成,完成后我们就拥有了一个可以进行分类的模型。
Deploying the model部署模型
Before we can deploy our model, we’ll first need its name from the fine-tuning job. Run the following command:在部署模型之前,我们首先需要从微调任务中获取其名称。运行以下命令:
This command will print the model’s model_output_name. We’ll use this name to deploy the model to a dedicated endpoint on Together AI.此命令将打印出模型的 model_output_name。我们将使用此名称将模型部署到 Together AI 的专用端点上。
Dedicated endpoints are responsible for exposing a fine-tuned model over an HTTP server so that we can send queries to it.专用端点负责通过 HTTP 服务器公开微调后的模型,以便我们向其发送查询。
Running this command will return information about your new endpoint:运行此命令将返回有关你新端点的信息:
Once created, you will see the name of the endpoint in the output. You can also find more information about the endpoint using your Dedicated endpoints dashboard over on Together AI as well.创建完成后,你将在输出中看到端点的名称。你也可以在 Together AI 的专用端点仪表板上找到有关该端点的更多信息。
Put the name of the endpoint inside of your .env as JEV_MODEL. For example, if your endpoint were named account_855c/Qwen3.5-4B-jev-efde5bd5-068f756b then your .env should have:将端点名称放入你的 .env 文件中作为 JEV_MODEL。例如,如果你的端点名称为 account_855c/Qwen3.5-4B-jev-efde5bd5-068f756b,那么你的 .env 文件应包含:
And that’s it. Your model is now deployed on Together AI and ready to answer any classification questions.这样就可以了。你的模型现已部署在 Together AI 上,随时准备回答任何分类问题。
In the next section, we’ll learn how to query our model.在下一节中,我们将学习如何查询我们的模型。
Querying the model查询模型
The code repository contains a number of test cases to verify the model is functioning correctly. Let’s use our classification model to find the intent of a customer’s question about their subscription:代码库中包含若干测试用例,用于验证模型是否正常运行。让我们使用我们的分类模型来确定客户关于其订阅的问题的意图:
Customer message: Hi, I checked my statement and your company charged my card twice for the October subscription. The amounts are both $19.99 on the same day. I have not changed my plan.客户消息:您好,我查看了账单,发现贵公司在同一天对我十月份的订阅扣了两次款。两笔金额都是 19.99 美元。我并没有更改过我的套餐。
Since our model was fine-tuned on JSON input and output, we need to format that question, and its possible answers, using a JSON data structure like so:由于我们的模型是针对 JSON 输入和输出进行微调的,我们需要使用如下所示的 JSON 数据结构来格式化该问题及其可能的答案:
And we can send this data structure to our model for classification using the following command:我们可以使用以下命令将此数据结构发送给我们的模型进行分类:
The examples/charge-dispute.json file contains our JSON example from above, and decide.py is a Python script that sends it to our fine-tuned model.examples/charge-dispute.json 文件包含了我们上面的 JSON 示例,而 decide.py 是一个将该示例发送给我们微调模型的 Python 脚本。
Once we send the request, we’ll quickly see the model respond with:发送请求后,我们将很快看到模型返回的响应:
This is exactly what we wanted to see. Not only is it the correct answer, but it’s also the correct output format that the model learned from our training data.这正是我们想要的结果。它不仅是正确的答案,而且还是模型从我们的训练数据中学到的正确输出格式。
There are a handful more examples inside of the examples/ folder. These examples include questions related to intent, yes/no comprehension, boolean policy checks, and sentiment analysis. Try changing these and running them against your deployed model.examples/ 文件夹中还有更多示例。这些示例包括与意图、是非理解、布尔策略检查和情感分析相关的问题。尝试修改这些内容,并针对你部署的模型运行它们。
Note: Our example script supplies the system prompt and inference settings automatically. When calling the API directly or using Chat Playground, explicitly set temperature=0, max_tokens=8, and chat_template_kwargs={"enable_thinking": false}. These defaults are not automatically injected by the current public endpoint.注意:我们的示例脚本会自动提供系统提示词和推理设置。直接调用 API 或使用 Chat Playground 时,请显式设置 temperature=0、max_tokens=8 以及 chat_template_kwargs={"enable_thinking": false}。当前的公共端点不会自动注入这些默认值。
Use this system prompt:使用此系统提示词:
Wrapping up总结
After you are done experimenting with your new model, you can turn off your dedicated endpoint using:完成模型实验后,你可以使用以下命令关闭你的专用端点:
To use your model again later, restart the dedicated endpoint or use the Together hosted together/Tev1-4B-experimental version on our serverless platform.以后若想再次使用你的模型,请重启专用端点,或者使用我们无服务器平台上托管的 together/Tev1-4B-experimental 版本。
For about $17 in training costs and twenty-five minutes of waiting time, you now have your own fine-tuned classification model, deployed behind an HTTP endpoint, that answers in the format your software expects.只需约 17 美元的训练成本和二十五分钟的等待时间,你就拥有了一个部署在 HTTP 端点后的微调分类模型,能够以你软件预期的格式进行回答。
.png)
.png)